Questions & Polls
You can answer our polls here, and ask any questions you may have.
PyTorch Tutorial
This is a tutorial presented during a workshop at the TheWebConf 2021.
It consists of 7 interactive Jupyter notebooks.
Notebooks
The links below open the notebooks in Google Colab. This way, you don’t have to install anything on your computer and you get a GPU for free.
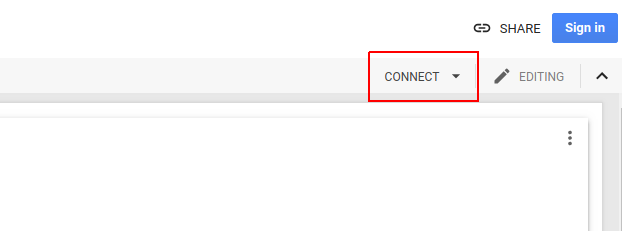
Log in using your Google account
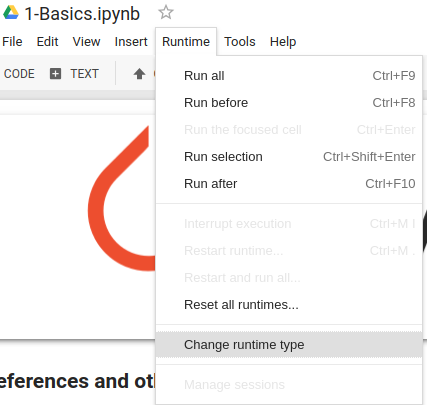
Enable GPU support by changing the ‘runtime type’
Introduction to Google Colab
This notebook covers the basic features of Google Colab.
Further learning
Check out these others tutorials and courses if you are hungry to learn more:
- Official tutorials: pytorch.org/tutorials. There are many!
- Step-by-step tutorial: towardsdatascience.com
- PyTorch for deep learning (.py files): yunjey/pytorch-tutorial
- PyTorch for deep learning (notebooks): yandexdataschool/Practical_DL
Alternative setups
Binder
Binder is an alterantive way to run remote notebooks that does not require a Google account.
![]()
Running locally using Conda
If you want to run the notebooks locally, you can use conda. The following instructions
should work on Linux/Mac OS, Windows might require slight adaptations.
Step 1: Install conda
If you have not installed it yet, you can download it from Anaconda (Python 3.6 version).
Verify that it is installed by running
conda -V
Make sure your conda installation is up-to-date:
conda update conda
Step 2: Download repository and install environment
Now clone the repository:
git clone https://github.com/theevann/webconf-pytorch-workshop.git
cd webconf-pytorch-workshop
The available conda environments can be listed using
conda env list
Let’s now create a new environment called ‘webconf-pytorch’.
conda env create -f environments.yml
Step 3: Activate/Deactivate the environment
After the environment has been created, you can activate it by
source activate webconf-pytorch
Now start the Jupyter notebook by running
jupyter notebook
The environment can similarly deactivated by
source deactivate